Jump to:
-> Managing General Shop Information
-> Configuring Steer User Access
⬇️ Watch the quick tutorial below 👀
Access
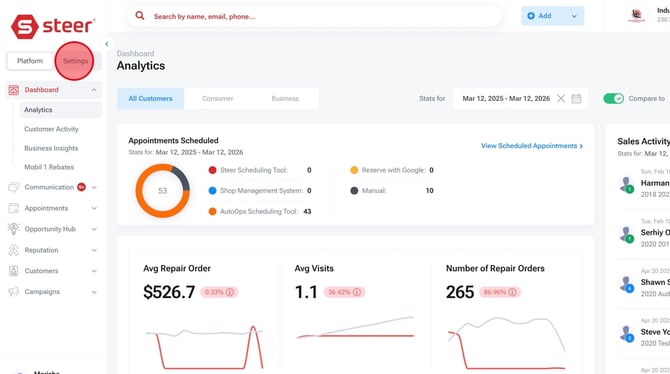
To access Settings, click the Settings toggle in the left navigation.
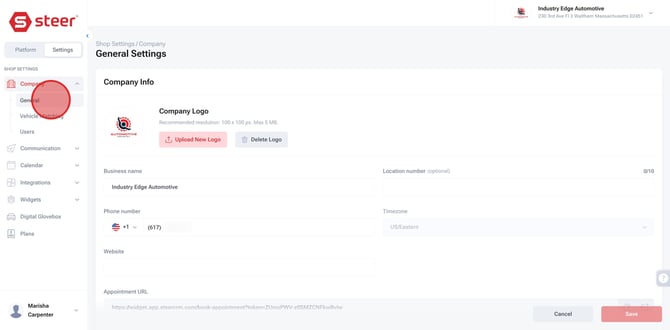
General
Update the following information about your shop on the General Tab:
-
Logo (this logo will be used for your email campaigns).
-
Company Name and Phone Number
-
Business Operating Hours
-
Mailing Address
-
Social Media Links
Vehicle Matching
On this page, you can view the unknown vehicles. These are vehicles that Steer was unable to automatically match to a known vehicle make/model.
- These are vehicles from your shop's invoices that don't match Vehicle Year, Make, and Model in Steer.
- You can match the vehicle to an existing Steer Year, Make, and Model, or you can create a brand new Vehicle type.
To learn more about Vehicle matching, click here.
Users
Manage user access in this area via the following tools:
-
Add a User
-
Adjusting Site Roles
-
Configure Across Locations
-
Delete a User

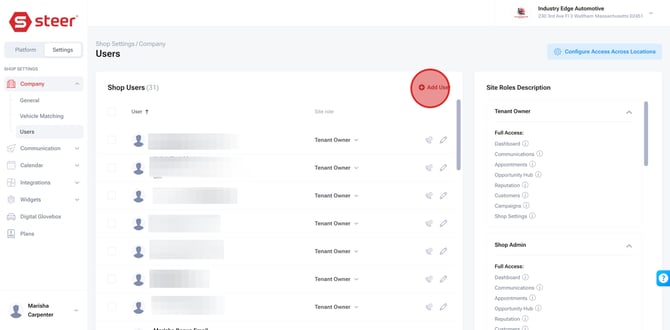
Adding a User
-
To add a user click "+Add User".
-
Enter the required information and click "Invite."
-
The user will receive an email to create their password and login.
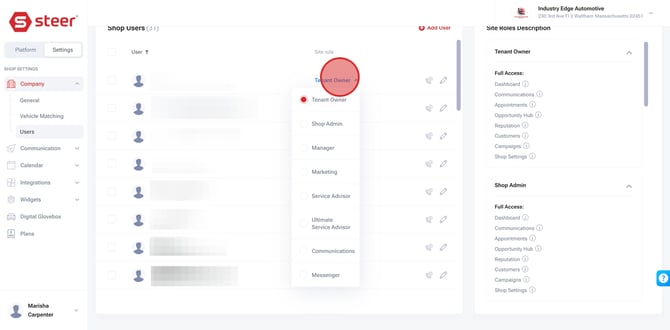
Adjust Site Role (User Permissions)
By default, a user is added as a "Messenger". This means they have the lowest permission level. View Site Roles Description for information on what each site role type can access.
-
Click the current site role to select a different site role for the user.
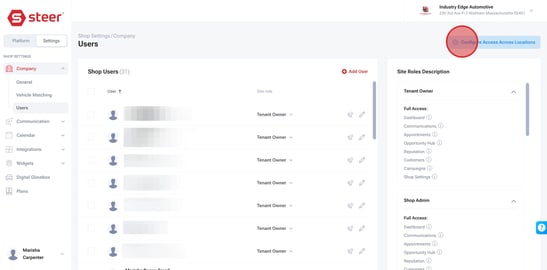
Configure Access Across Locations
If you manage multiple locations under one Steer Tenant you can configure user access across locations making it easy to add, delete, and configure users.
-
To add a user to multiple locations click "Configure Access Across Locations."
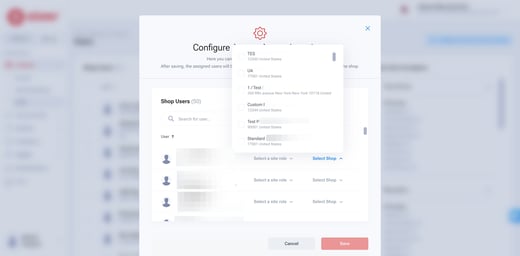
-
Configure the user's site role and the locations you would like them to have access to using the selected site role.
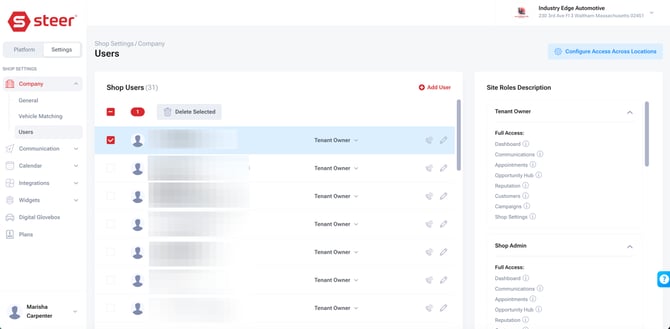
Delete a User
To delete a user, simply click the checkbox beside their name and select delete.